
How to Use Git Graph in VSCode to Visualize Your Git Repository ?
Git is useful when creating large projects because it provides several benefits that make collaboration easier and more efficient. These benefits include:
Git Graph is a extension for Vs Code that provides a visual representation of a Git repository's commit history. It helps developers to understand the relationship between various branches, commits, and merges in a more intuitive way.
- Visualization of the commit history: Git Graph provides a graphical representation of the commit history of a Git repository, which can be easier to understand than a text-based output. This makes it easier to visualize how the repository has evolved over time, and to identify any potential issues or conflicts.
- Navigation: Git Graph provides an easy-to-use interface for navigating through a repository's history. Developers can quickly find specific commits, branches, and tags, and view detailed information about each one.
- Collaboration: Git Graph can help developers to collaborate more effectively by providing a clear overview of the repository's history. This makes it easier to communicate about changes and to identify any conflicts that may arise.
- Workflow management: Git Graph can also help developers to manage their workflow more effectively. It provides tools for creating and merging branches, rebasing commits, and resolving conflicts, all within a visual interface.
- Customization: Git Graph is highly customizable, allowing developers to adjust the layout, color scheme, and other settings to suit their preferences. This can help to make the tool more accessible and intuitive for individual developers.
Installation of Git Graph in Vs Code
🌱 Prerequisites
You can check git is installed or not by simply running following command in command prompt or terminal.
- Open VS Code: Open VS Code on your computer.
- Open the Extensions panel: Click on the "Extensions" icon in the left-hand sidebar (or press Ctrl+Shift+X on Windows/Linux or Cmd+Shift+X on Mac) to open the Extensions panel.
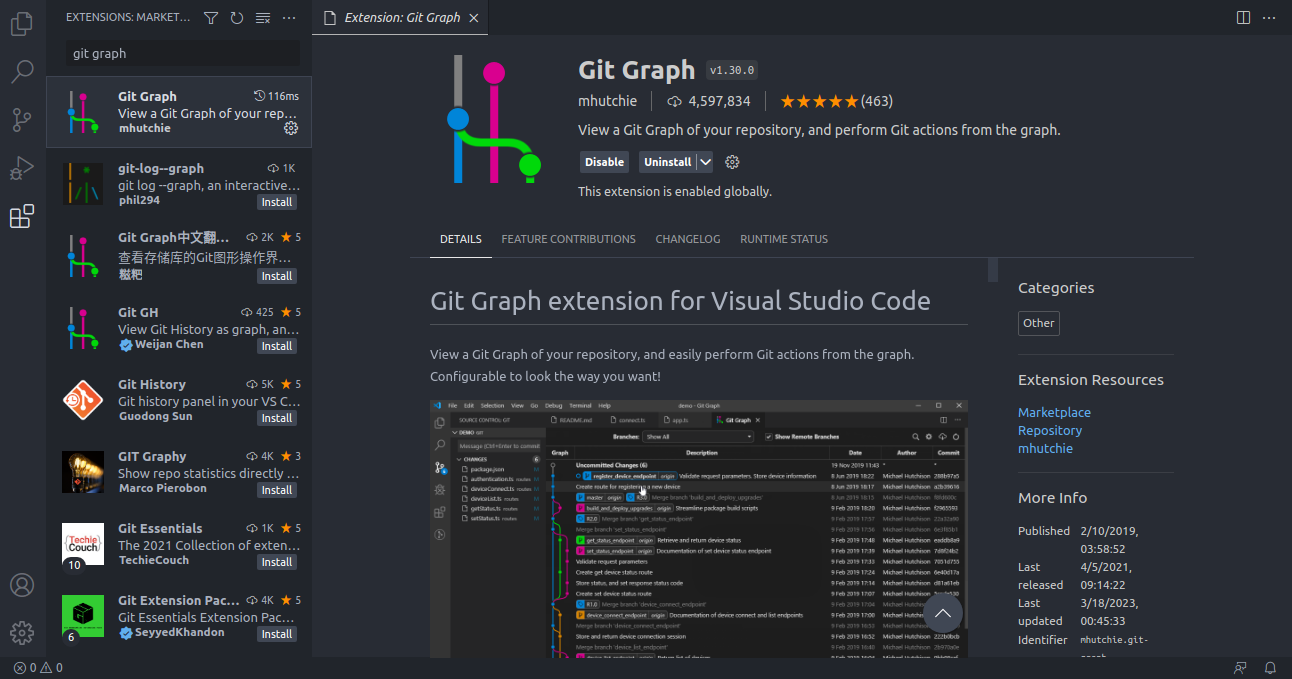
- Search for Git Graph: In the Extensions panel, type "Git Graph" into the search bar and press "Enter". The "Git Graph" extension should appear in the search results.
- Install Git Graph: Click on the "Install" button next to the "Git Graph" extension in the search results. The button should change to "Installing" and then "Installed" once the installation is complete.
- Restart VS Code: After the installation is complete, you may be prompted to restart VS Code to activate the extension. If not, you can manually restart VS Code to ensure that the extension is properly installed and activated.
How to use Git graph ?
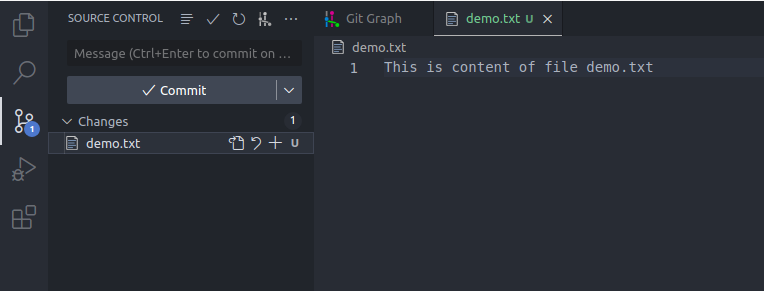
Open "Source Control" panel to see more details about the Git.
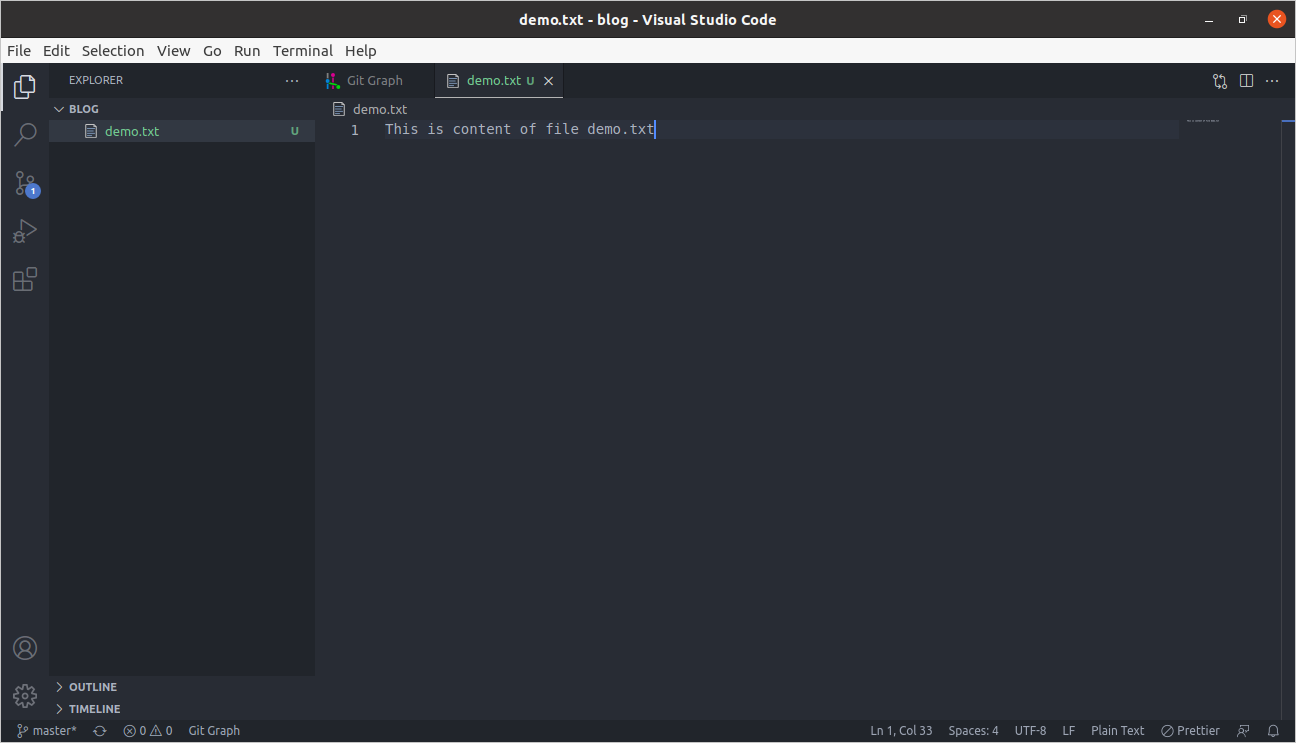
1. If you are using git with Vs code then you will see color change when you create file. File become green and it will show little title U(untracked) at right side of the file name. It means file is new and not tracked by git.
There are other letter like U shown at right end.
- M (Modified)
- D (Deleted)
2. To view the details about git. Navigate to git panel.On git panel you will get all details about the file changes.
You will see three icons at right side of the file name.
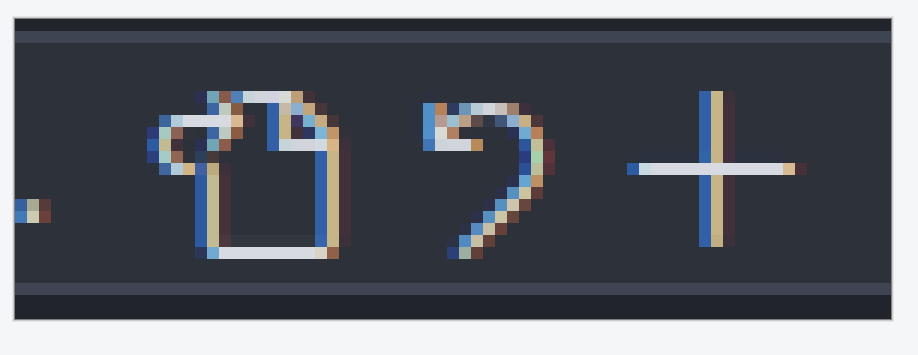
- First icon is for the opening the file in editor.
- Second curve arrow is to discard the changes that you made in the git.
- Third is to add the file to the stagging area.
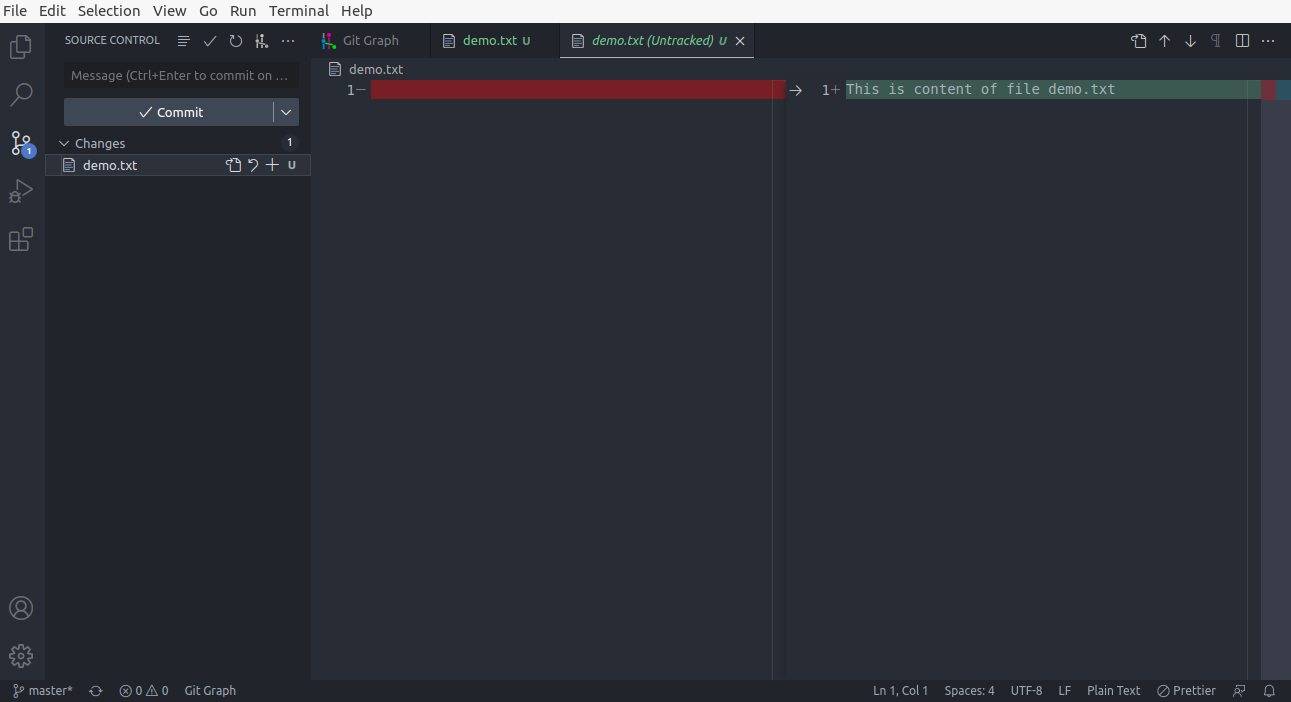
3. When you click on the file, new tab will open and there you can see the changes in that file in details.
The area in red area shows previous content and content from green area show new content that added.
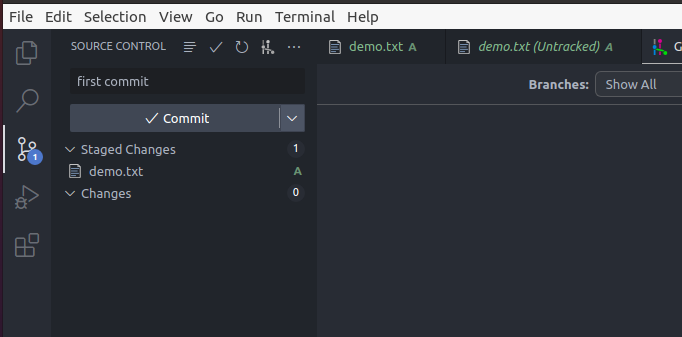
4. When you click on plus icon the file will add to the stagging area and file is ready for the comment.
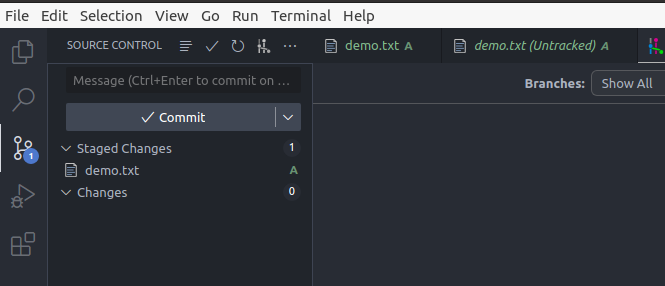
5. In the input box above the commit but you can add the commit message. After adding press the commit button to commit the changes.
6. Whenever you make any new commit or create
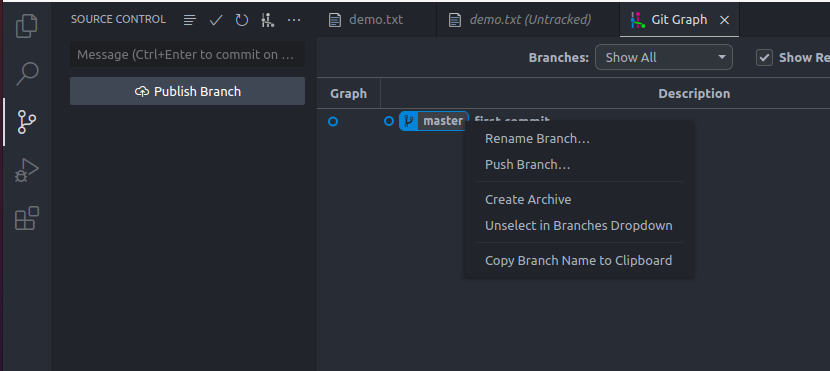
new branch then you can see those in the git graph tab.
When you click on the branch name there are various functions
you can perform on the branch like pushing branch, reanaming
branch and downloading it in archive.
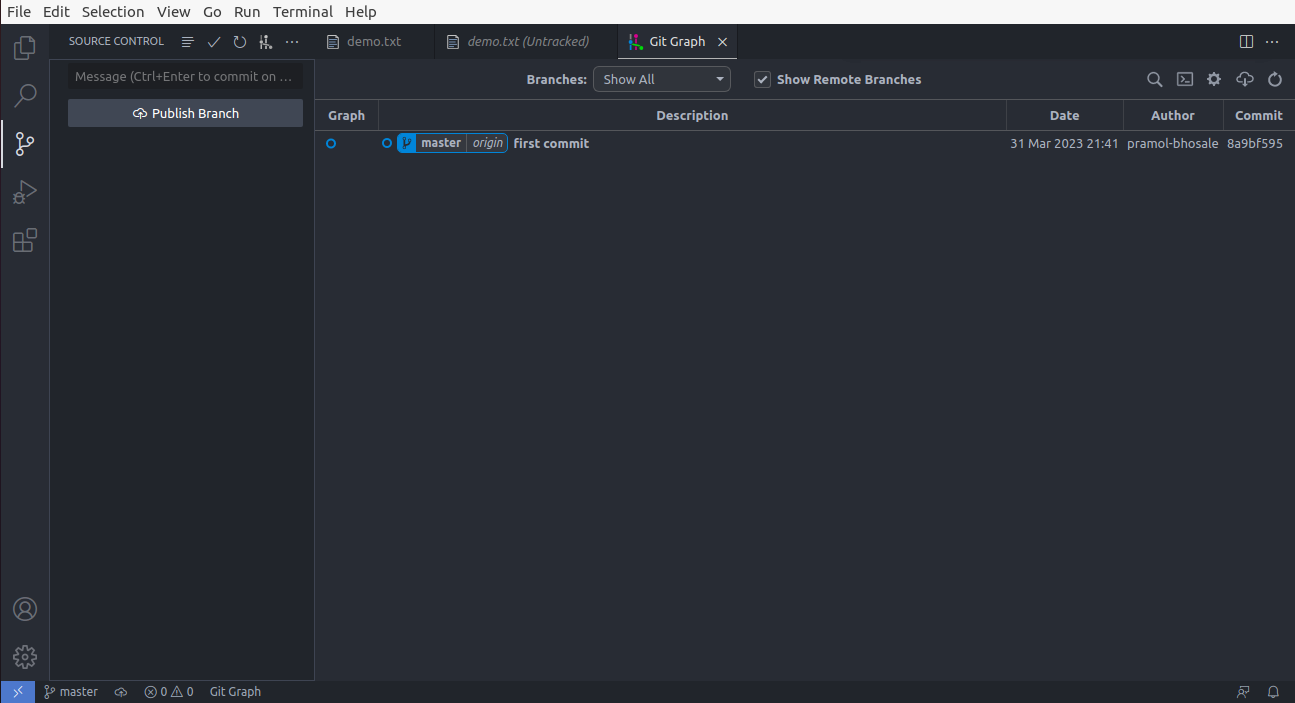
7.All the details like date, authur,commit etc.
related to commit will be shown in row of the respective commit
hash.
To see more details about the commit just click on the commit
and it will show all the details like in which file changes
where made. Also where changes made.
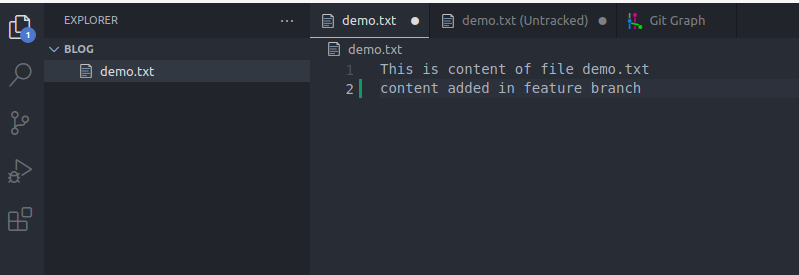
8. Whenever you edit content of file i.e when add new content then it will show green bar near line number
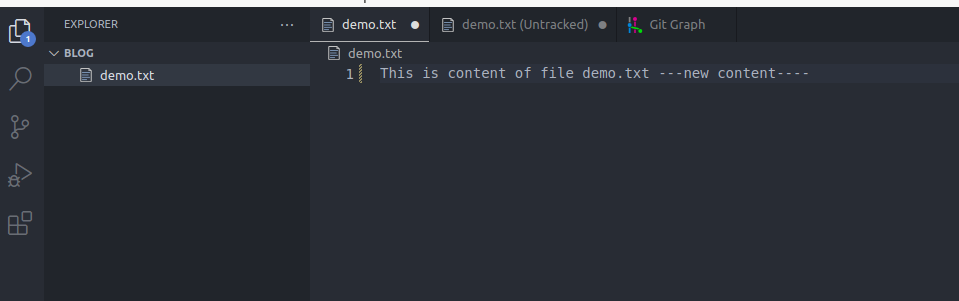
9.If you modify the content of the line then it will show dashed bar near line number
10.When file is open to see the changes made in file from the last commit at the top right corner you can see some icons. From there you can create new panel or also you can the changes in inline view. When you use inline view it will show changes like Github , GitLab.
